*** Description ***
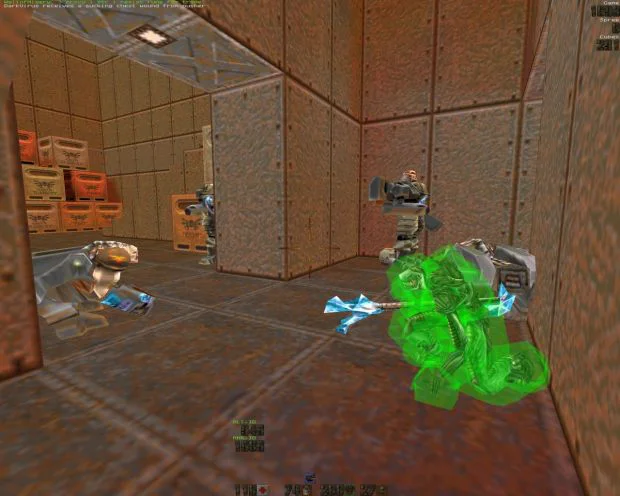
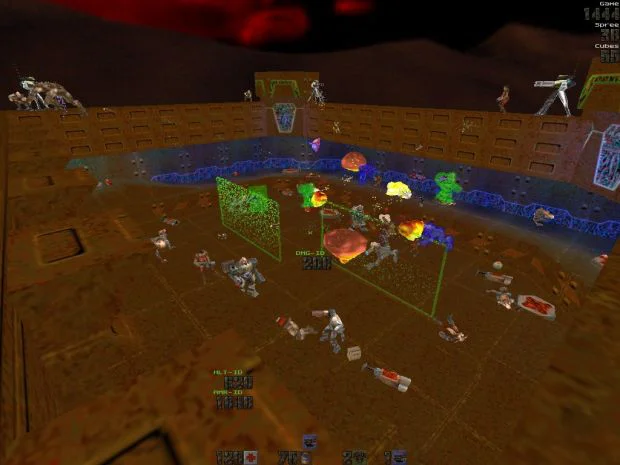
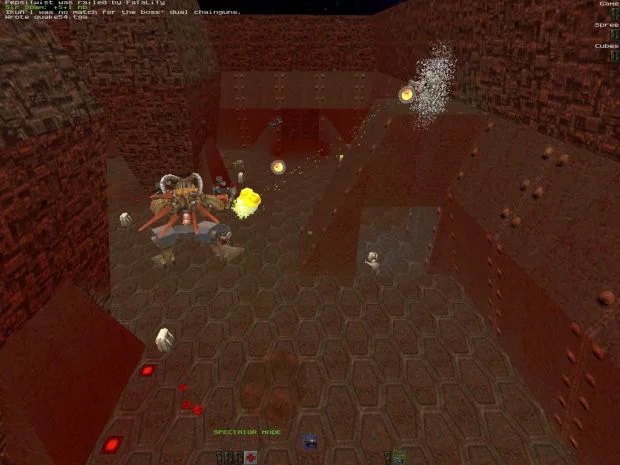
The mod is very similar to MegaTF Coop for Quake 1. On the map there are monsters with varying difficulty and different levels, for the victory over which you gain experience. You increase the level to unlock new abilities, weapons, and other bonuses. Mod has 11 different classes, each with its own weapons and abilities.
More information about abilities, see the file “vortex > DOCS > Vortex_Q2_Abilities”
It has a 5 different modes:
- PvP (player vs player): Classic game mode. Players hunt at each other and get experience for it. If you have more than 5 frag (and you were not killed) you receive a bonus to experience. If you have more than 24 frags – it activates a special mode. In this mode you will shine in white color, and all other players red. They will not be able to attack each other and will hunt for you!
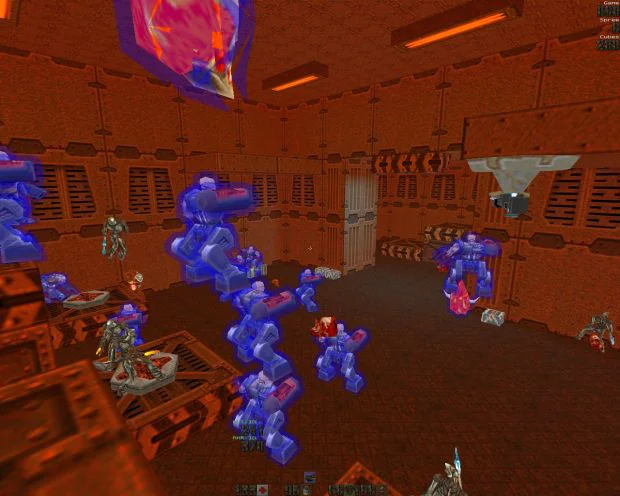
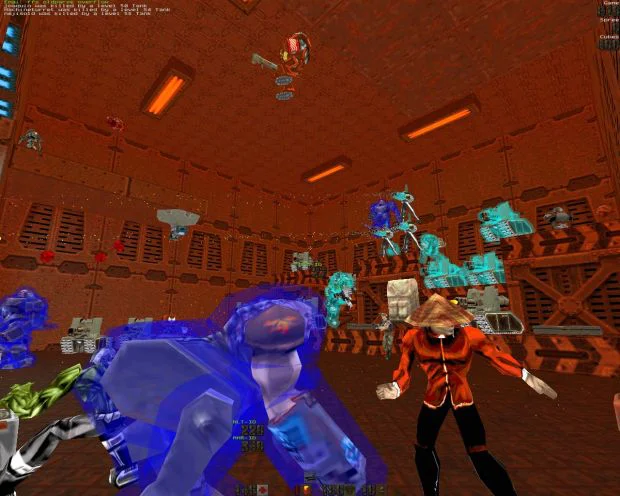
- PvM (players vs monsters): In this mode players will unite for fight against monsters (works at any map)!
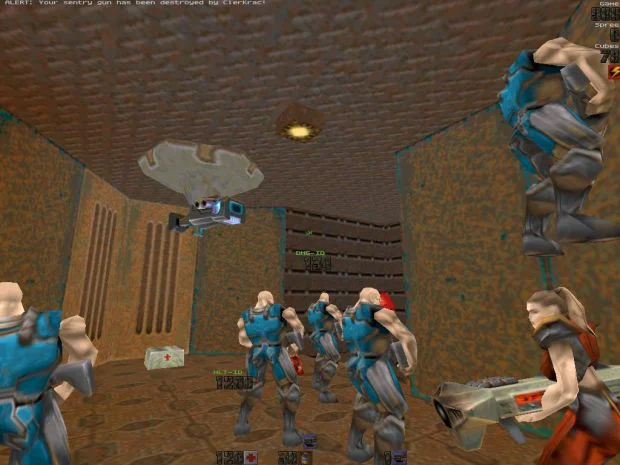
- CTF (Capture the flag): Two teams – blue and red. Players joining to teams automatically according to the level and abilities. Take the enemy flag and bring it to your base.
- FFA (Free for All): This mode is a PvP+PvM mode. You have to hunt others players, but monsters will disturb you! In this mode you get more experience becuase this mode is difficultier that classic PVP.
- Invasion: Similar to PvM – players vs monsters. The difference is that there is a base of players and base of monsters. The purpose of players – to protect the base from destruction by monsters. If you win – special bonuses are awarded, depending on the number of the players who survived.
*** Installation ***
1) Unpack the “vortex” folder and the “vrx_server.bat” file into the dirrectory with your game, for example: “C:\Games\Quake2”.
2) Open “server.cfg” in the “vortex” folder. We search for the next lines:
// directory to save character files
set “save_path” “C:\Games\QUAKE2\vortex\characters”
set “game_path” “C:\Games\QUAKE2\vortex”
First is a path to the folder with saves (characters), second is a path to the mod folder.
If we want to change the gamemode, we search for lines:
//required setting for server operation, do not modify
set “deathmatch” “1”
set pvm 1
set invasion 1
set pvp 0
set dom 0
0 – off, 1 – on. More details about game modes look in the “Description” section.
P.S. If you want the “Invasion” game mode to work correctly, the pve mode also has to be “on”.
The number of monsters is determined by the line:
set “dm_monsters” “5”
If game is too difficult, you can reduce the amount.
Also, each game mode uses its own maplist. The maplists are in the vortex\Settings folder.
3) Open vrx_server.bat in notepad, find a line “+map svrxinvm1” in it – this parameter defines the map on which
we will play. To set another map, just replace svrxinvm1 value with the name of any other map.
For example: “+map q2dm1”. All maps created especially for mod are in the “vortex\maps” folder.
4) Start vrx_server.bat, then the small window of the server (Pic1.jpg) will appear.
Then run the game > Multiplayer> Join network server and choose our server in the list.
It is also possible just to write to “connect 127.0.0.1” consoles without quotes.
P.S. In the vortex/VortexFiles folder there are also other versions of this server, but they are MUCH older (are dated 2004)
*** Main commands ***
Open the console (~) and enter the following commands:
vrxmenu – open the mod main menu.
In this menu is also weapon (Armory) in which it is possible to buy weapon and bonuses.
vrxrespawn – choose the main weapon for the character.
Also, to use abilities you will need to bind keys for them.
For this purpose you can open the console and to register there:
bind A B
A – key, convenient for you
B – names of a skill.
Let’s allow for Beerme skill I want to appoint the key “x”, for this purpose I write:
bind x beerme
P.S. In the vortex/VortexFiles folder there are also other versions of this server, but they are MUCH older (are dated 2004)
